Creating Annotation Project
In this section you will learn how to create a new annotation project.
The process of creating a new annotation project starts with:
- Info: Adding details like project name and description.
- Project Files: Adding appropriate image or images that you want to annotate or tag.
- Categories: Inserting the relevant project categories. This depends on the images that you are adding. For example, you add images of a city, then you can add categories like buildings, roads, parks, and so on.
- Project Members: Adding members to the annotation project. These members will have read-write access to the project.
To start creating a new annotation project, do the following:
-
Login to platform.
-
Click the Collaborate module and then proceed to click the Annotation Project sub-module.
The Annotation Projects homepage is displayed.
-
In the Annotation Projects homepage, click the Create Annotation Project tile to start a new annotation project.
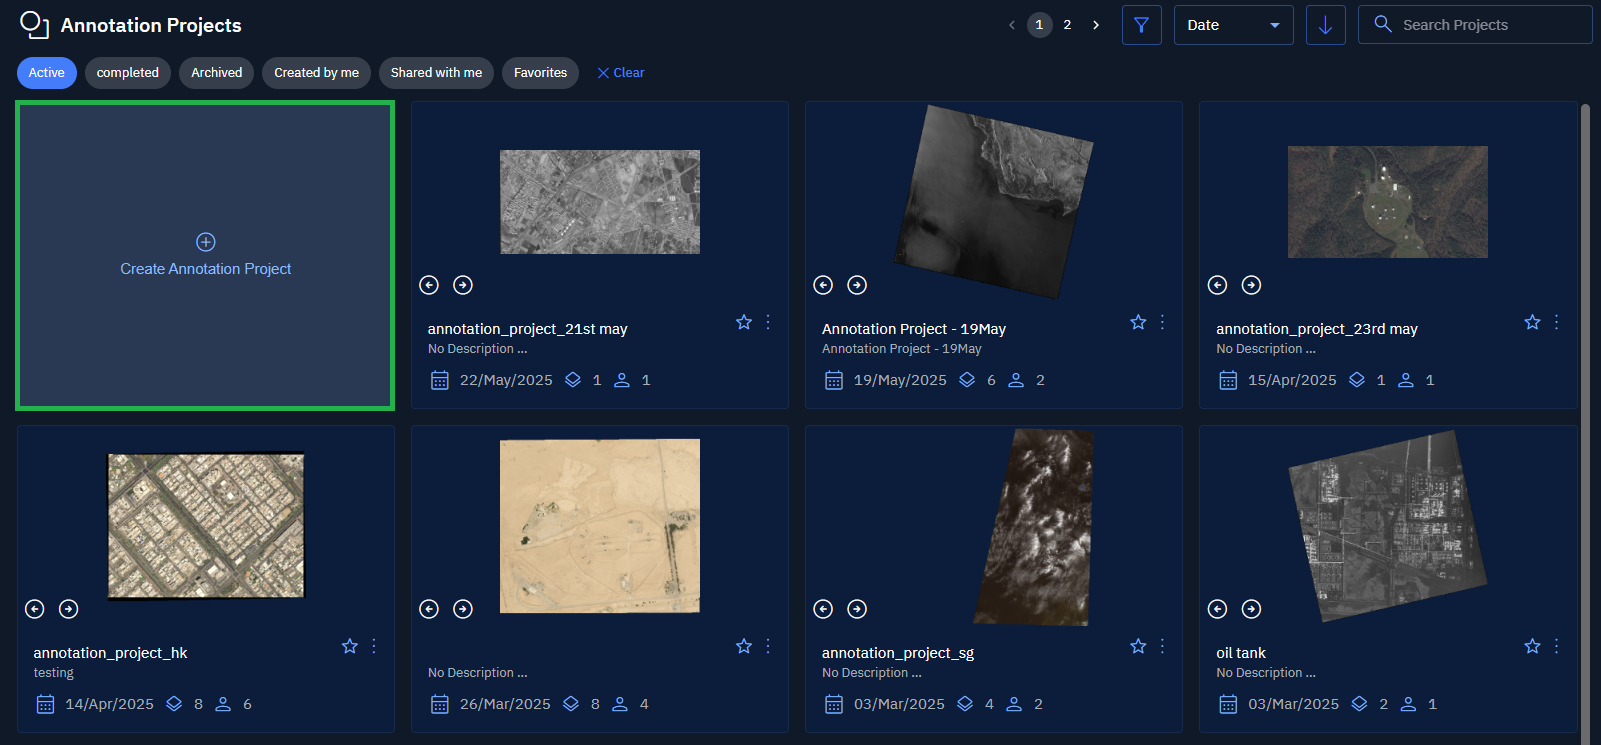
The New Annotation Project dialog box is displayed.
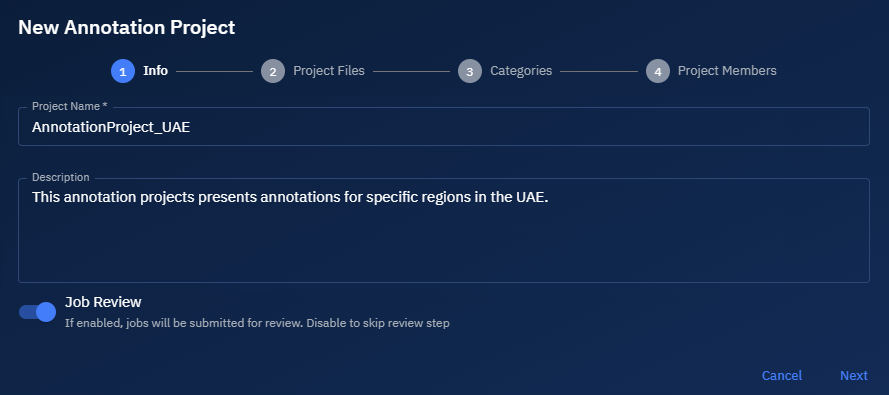
Info: Adding project details
- In the New Annotation Project dialog box, under the Info tab, do the following:
-
Type the name of the project and the description in the Project Name and Description fields.
-
Turn on the Job Review toggle to submit thee annotation project for review.
-
Click the Next button.
-
Project Files: Adding images to annotate
- In the New Annotation Project dialog box, under the Project Files tab, do the following:
- Click the Filter icon to find and add appropriate images that you want to annotate.
- Click the Next button.
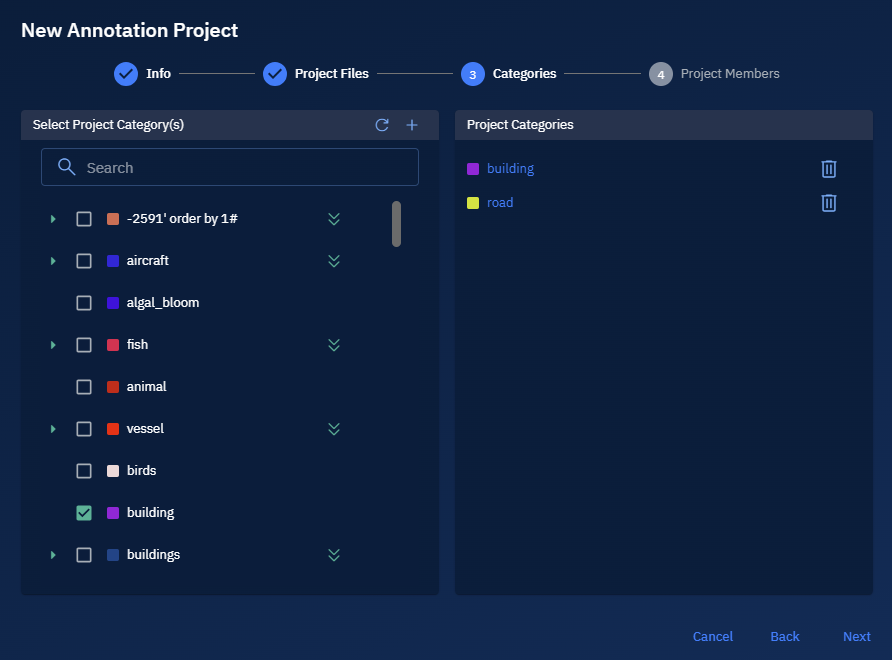
Categories: Adding relevant categories
- Search and select relevant categories and then click the Next button.
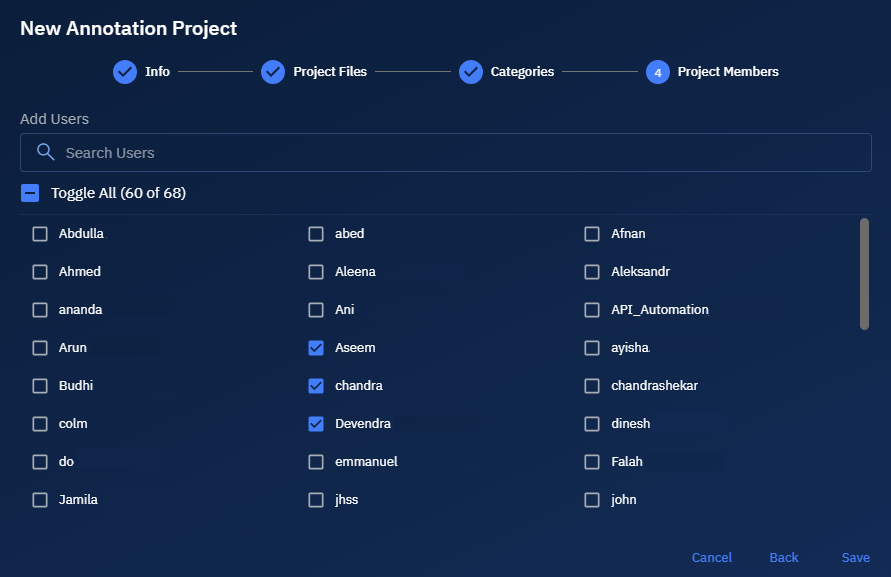
Project Members: Adding team members to the project
- Search and add members to give access to the annotation project. Proceed to click the Save button.
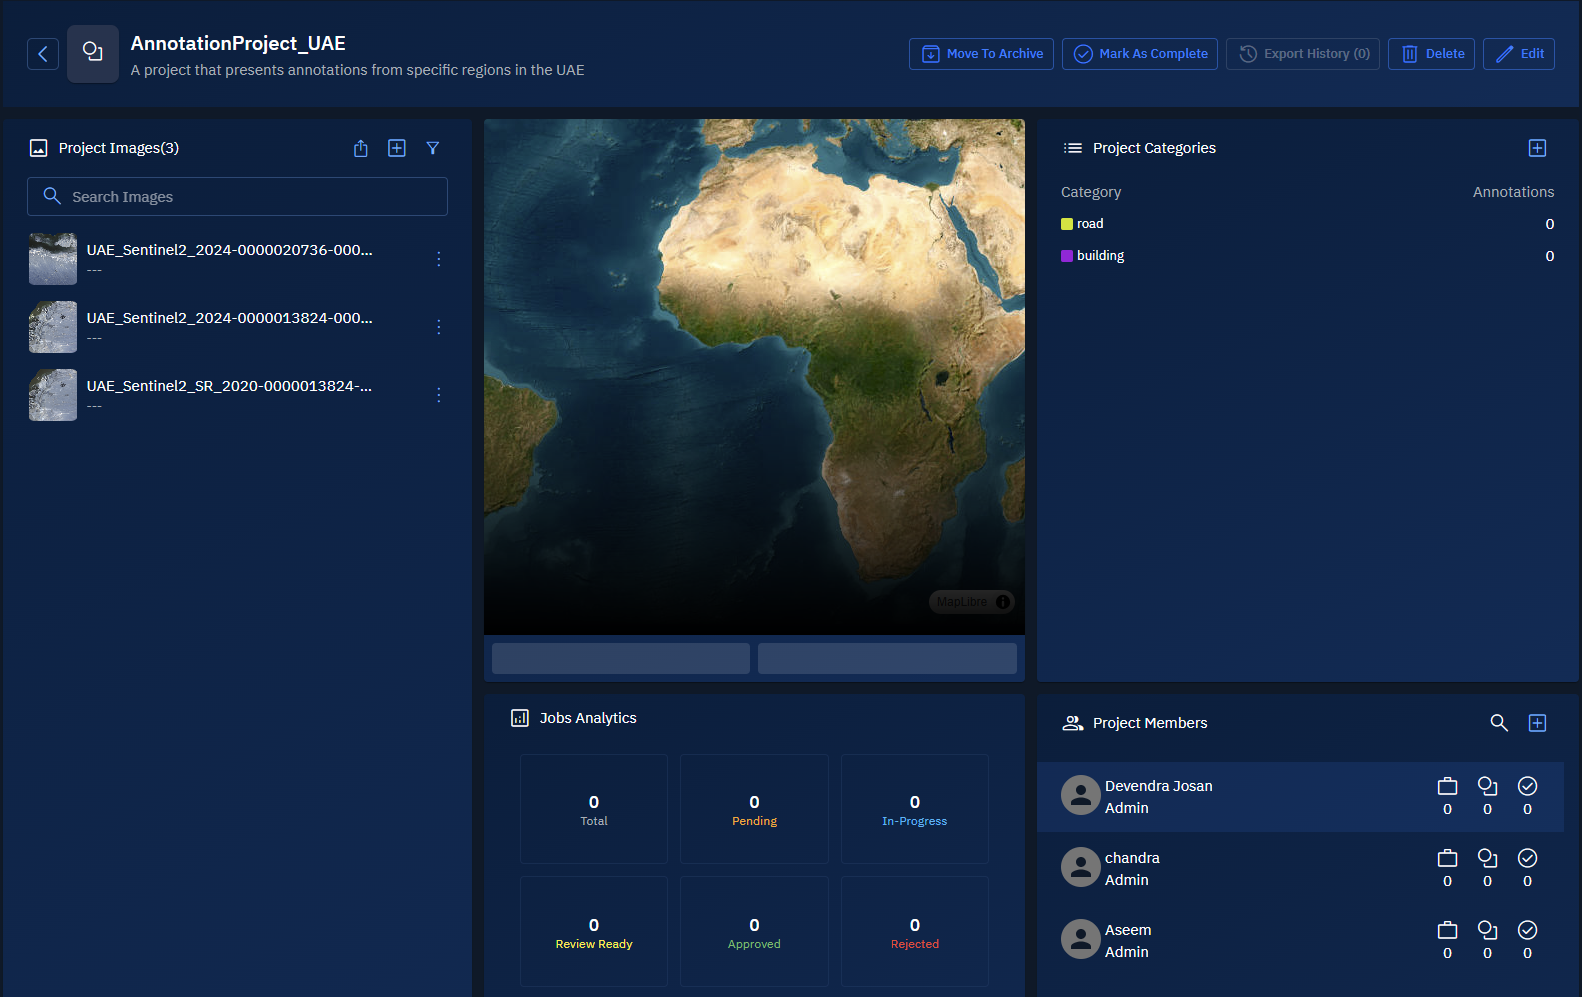
A new annotation project is successfully created.